


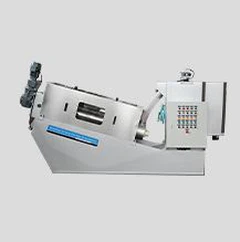


Installing a press screw can be a complex process, depending on the type and design of the press. However, here is a general outline of the steps involved in installing a screw press:
Prepare the press frame: Make sure that the press frame is clean and free from debris. Check for any damage and repair it if necessary.
Install the bearings: Install the bearings in the frame. The bearings will support the screw and allow it to rotate smoothly.
Install the screw: Place the screw in the bearings, making sure that it is properly aligned and rotates freely.
Attach the press plate: Attach the press plate to the end of the screw. This is typically done using nuts and bolts.
Check alignment: Check the alignment of the screw, the bearings, and the press plate. Make any necessary adjustments to ensure that they are properly aligned.
Install the drive mechanism: Install the drive mechanism, such as a motor or a hand-crank, to rotate the screw.
Connect the electrical or hydraulic components: Connect the electrical or hydraulic components to the drive mechanism, if applicable.
Test the press: Test the press by rotating the screw and observing how it operates. Make any necessary adjustments to ensure that it operates smoothly.
Note: The specifics of installing a screw press will vary depending on the type and design of the press. It is important to follow the manufacturer's instructions for installing the screw press, as well as any relevant safety guidelines. If you are unfamiliar with installing a screw press or have any doubts about your ability to do so, it may be better to have the installation performed by a professional.